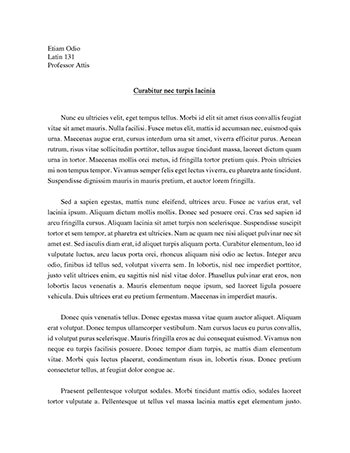
Essay 1 MLA Formatting 2
MLA Format is one of the formats that is most needed in college writing, therefore, here
is the process on how to do MLA Format using Pages on your Mac. Begin by opening your
Pages App, click on New Document to create a new archive and choose the Blank Template. By
default, Pages uses font Helvetica and font size eleven. Since these fonts are not right, click on
font name and change it to Times New Roman then click on font eleven and change it to font
size twelve. By default, Pages uses the default margins of one inch for all top, right, bottom and
left and those settings are correct, therefore, there is no need to change them. If you would like to
verify the margins, here are the steps: Click on the Setup icon located on the top right corner then
set the margins under Document Margins.
As soon as you do this, create a Header by clicking on View at the top of the screen then
click Show Layout and a layout of your document should appear. Before you make the Header,
click on the Format icon to display the font properties. You will notice the font on the Header is
not Times New Roman in order to change that click on font Times New Roman over the right
side of the screen. Whenever you are done setting the right font, click on the third box on the
Header, type your last name, hit the Spacebar key on your keyboard once, click on Insert on top
of the screen, and click on Page Number to insert automatic page number. When setting up line
spacing, click under Spacing on the right side of the page and click on “1.0 – Single” and choose
“2.0 - Double“. To enter the first page information begin by going to the top of the page and


